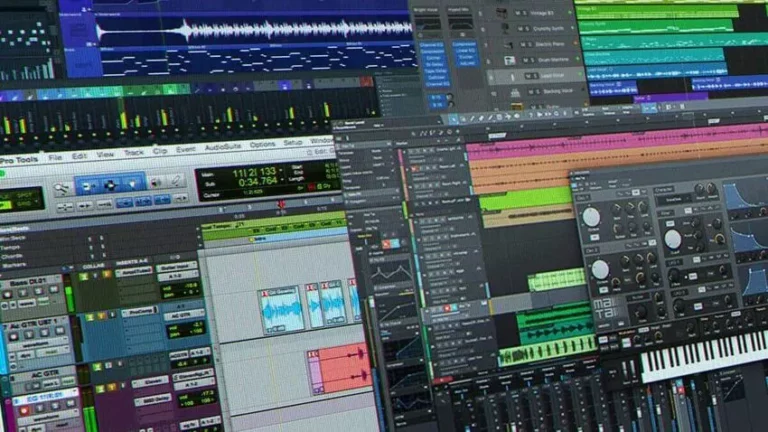
Creating a music production is a labor of love, and when it’s time to take your tracks to the next level, you may decide to collaborate with a professional mix engineer. To ensure a smooth and efficient process, it’s crucial to export your audio tracks properly from your Digital Audio Workstation (DAW) before sending them off. In this blog post, we’ll guide you through the steps to export your song’s audio tracks with precision, ensuring that your mix engineer has all they need to work their magic.
Step 1: Organization is Key
Before diving into the export process, take some time to organize your project. Make sure your tracks are labeled clearly and consistently. Remove any unused or unnecessary tracks to streamline the session. The cleaner and more organized your project is, the easier it will be for the mix engineer to navigate.
Step 2: Check Your Levels
Prior to exporting, review the levels on each track. You want to avoid clipping or excessive distortion, so ensure that your tracks have headroom. Aim to have your peak levels well below 0 dBFS, typically no higher than around -6 dBFS to -3 dBFS on the highest peaks. This allows room for the mix engineer to work with your audio without encountering issues.
Step 3: Set the Playback Range
In most DAWs, you can define a specific playback range for export. Select the section of your song you wish to export. Make sure it includes the entire song or the parts that are to be mixed. This eliminates any unnecessary audio from the exported files.
Step 4: Configure Export Settings
Access your DAW’s export settings or bounce options. Here are some key settings to consider:
- File Format: Choose a high-quality audio format, such as WAV or AIFF. These formats offer lossless audio quality and are the standard for professional audio work.
-
Sample Rate: Use the same sample rate as your project. Typically, this is 44.1 kHz or 48 kHz for most music production.
-
Bit Depth: Choose 24-bit or higher for the bit depth. This provides ample dynamic range for mixing and mastering.
-
Dithering: If your project is in a higher bit depth and you’re exporting to a lower one (e.g., from 32-bit to 24-bit), enable dithering to maintain audio quality.
-
Naming Convention: Establish a naming convention for your exported tracks, so the mix engineer can easily identify them. For example, use the track number followed by the track name (ie. “01 Kick Drum, 02 Snare Drum, 16 Lead Vocals” as examples).
Step 5: Choose Track Configuration
Decide how you want to export your individual tracks. You have two main options:
- Individual Tracks: Export each track separately. This provides maximum flexibility for the mix engineer and is the most common choice.
-
Stems: Create stems by grouping related tracks together. For example, you might export all drums as one stem, all guitars as another, and so on. Stems can be helpful when you want to give the mix engineer some creative freedom while maintaining some initial separation of tracks.
For some projects and scenarios sending Stem Tracks instead might be the correct option. Having a discussion with your mix engineer about which is appropriate for your project if it is something complicated or has special requirements. But, typically a mix engineer is going to want the most control possible and want the Individual Tracks.
Step 6: Export
Once your export settings are configured and you’ve chosen the track configuration, initiate the export. Depending on the complexity of your project and your computer’s processing power, this may take some time. Be patient and ensure that the export process is completed without interruption.
Step 7: Verify and Package
After exporting, verify the exported audio files to ensure they sound correct. Listen for any unexpected glitches, pops, or dropouts. If everything checks out, create a folder for your exported tracks. Include a ReadMe file that provides essential information such as tempo, key, and any specific notes for the mix engineer.
Compress the files in the folder into an archive (ZIP, RAR, etc.) to prepare them for delivery to your mix engineer.
Step 8: Share Securely
Finally, share your exported audio tracks with the mix engineer through a secure and reliable method. Consider using a file-sharing service like Dropbox, Google Drive, or a professional file transfer service. Ensure that the engineer receives all the necessary files and information.
The Importance of Exporting Every Track as One File the Same Length
In addition to the steps outlined in the previous section, it’s essential to understand why exporting every track as one continuous file, with consistent start and end times, can significantly benefit the mixing process.
When you export every track as one file, they all start at the same point in time, making it much easier for the mix engineer to align them when importing into their DAW. This consistent alignment is crucial for various reasons:
1. Synchronization: In a multi-track mix, it’s crucial that all the elements of your song are in perfect sync. When the tracks have the same starting point, it simplifies the mixing process, ensuring that all instruments and vocals are perfectly synchronized with each other.
2. Phase Coherence: If the tracks do not start at the same time, it can introduce phase discrepancies between instruments and vocals. Phase issues can lead to sonic problems, such as thinning out the sound or causing unwanted frequency cancellations. Exporting tracks that start and end simultaneously helps maintain phase coherence.
3. Timecode Alignment: Many DAWs and professional audio equipment use timecode to ensure precise alignment of audio tracks. By exporting all tracks with consistent start and end times, you make it easier for the mix engineer to work with timecode and ensure accurate synchronization of all elements.
4. Efficient Workflow: For mix engineers, efficiency is key. Having tracks that start at the same time reduces the amount of manual adjustment required during the mixing process. This allows the engineer to focus on creative aspects and achieving the best possible sound for your song.
5. Better Communication: When you send your tracks to a mix engineer, clear and precise communication is essential. Exporting tracks that align perfectly sends a message that you are a professional who values the mix engineer’s time and expertise, creating a positive working relationship from the start.
Exporting every track as one continuous file with consistent start and end times is not only a good practice but a significant advantage in the music production process. It simplifies the mixing process, ensures synchronization, maintains phase coherence, and allows for efficient workflow. This level of professionalism and attention to detail not only benefits your mix engineer but also contributes to achieving the best possible sound for your music.
Conclusion
Properly exporting your audio tracks from your DAW is a crucial step in the collaborative music production process. By organizing your project, setting the right export parameters, and creating a clear system for sharing files, you’ll empower your mix engineer to work efficiently and deliver the best results for your music. This attention to detail not only makes their job easier but also demonstrates your commitment to achieving a professional, polished sound in your final mix.
The rest of the posts in this series will elaborate on the process and discuss the decisions that need to be made when exporting different types of content and tracks to ensure the project or song goes smoothly for both the client and the engineer.
In Part Two we will look at whether to process your tracks while exporting.
Exporting Tracks for Mixing: A Complete Guide for Musicians and Producers – Part 1
- Part 1: Steps to Export your Tracks for Mixing
- Part 2: To Process or Not to Process while Exporting Tracks
- Part 3: When to Export MIDI directly or Audio while Exporting Tracks
- Part 4: Guitar and Bass – Amps, Direct Input (DI), and Amp Sims